Tạo User Và Phân Quyền Admin Trên Linux
Hướng Tạo User Và Phân Quyền Admin Trên Linux
Bước 1:
Kết nối ssh bằng root đến server
Thêm tài khoản admin2 hoặc admin3 thông qua lệnh:
useradd admin2
passwd admin2 // thay đổi mật khẩu cho tài khoản admin 2
Dùng lệnh su + user để chuyển qua tài khoản admin2
root@v1:~# su admin2
admin2@v1:/root$
Dùng lệnh ls để kiểm tra quyền liệt kê file
admin2@v1:/root$ ls
ls: cannot open directory '.': Permission denied
admin2@v1:/root$
Permission denied có nghĩa là user admin2 chưa có quyền liệt kê file
Dùng sudo ls và nhập mật khẩu admin2
admin2@v1:/root$ sudo ls

We trust you have received the usual lecture from the local System
Administrator. It usually boils down to these three things:

    #1) Respect the privacy of others.
    #2) Think before you type.
    #3) With great power comes great responsibility.

[sudo] password for admin2:
admin2 is not in the sudoers file.  This incident will be reported.
admin2@v1:/root$
admin2 is not in the sudoers file. This incident will be reported. (admin2 chưa thuộc nhóm sudoers)
Làm thế nào để phân quyền?
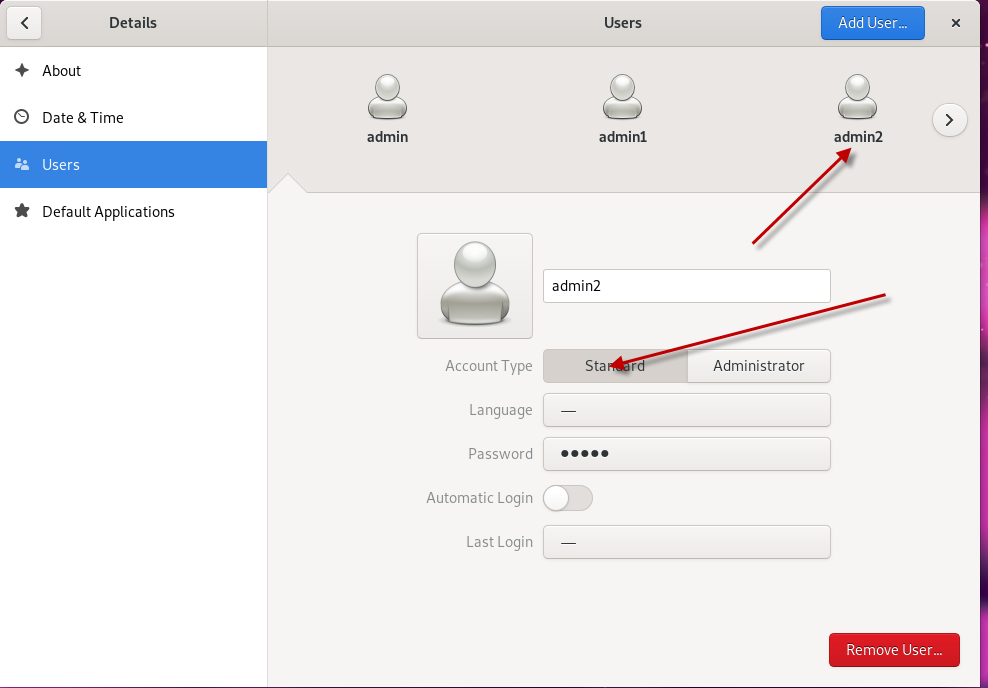
Kiểm tra admin2 bằng remote desktop thấy quyền chỉ là quyền có bản

BẮT ĐẦU PHÂN QUYỀN
Thêm admin2 vào nhóm sudoers
dùng lệnh usermod với option là -aG
usermod -aG sudo admin2
id admin2  // gọi lại để xác minh
Dùng lệnh sudo ls (trên admin2) lúc này đã hoạt động

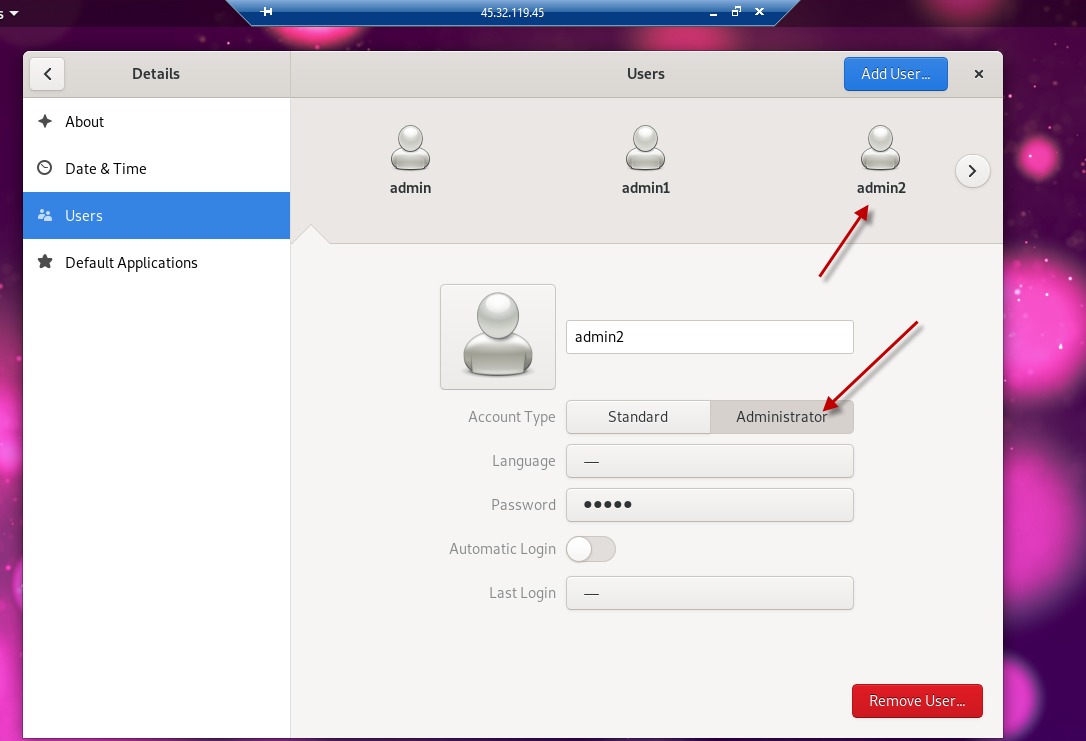
Kiểm tra bằng remote desktop thì tài khoản admin2 đã chuyển qua administrator
